KAPWING
Start creating
English

Make clearer video sound with the kapwing audio editor

Start with a voiceover, music track, or video clip. Focus on the sound first: cut unwanted moments, place audio against the picture, and check the result before exporting.

Review the result before exporting
Video editing workspace with media arranged for a project

Three sound jobs worth doing first

The audio editor is most useful for removing distractions, making speech easier to hear, and fitting a soundtrack to the cut. These examples show where each job starts.

Interview editor

A recording starts with setup chatter and a long pause.

Trim the dead space, then listen across the join so the answer still sounds natural. For visual cuts alongside the interview, use the broader video workflow.

kapwing video editor

Tutorial creator

Background music competes with a spoken explanation.

Lower the music under speech and replay the busiest section. If the lesson also needs readable dialogue, add captions after the mix is settled.

kapwing captions

Social video maker

A soundtrack continues past the final frame.

Shorten the track to match the ending and check that its last beat does not stop abruptly. For a new starting clip rather than a sound edit, explore video generation.

kapwing video generator

Voiceover producer

The narration is usable, but its opening and ending contain extra takes.

Keep the strongest take and remove the unwanted edges. If the task is creating material rather than cleaning an existing recording, explore AI tools separately.

kapwing ai
How to start an audio edit

Bring in the recording

Open your audio or video file and play it once from beginning to end. Note where speech starts, where music enters, and which moments need attention.

Fix timing before levels

Trim the unwanted opening or ending, then align the remaining sound with the picture. Listen around every cut; a visually neat join can still sound jarring.

Balance and review

Adjust the relationship between speech and music, then replay on ordinary speakers or headphones. Check the exported file too, since the final result matters more than the timeline preview.

What a focused sound edit changes

Original recording

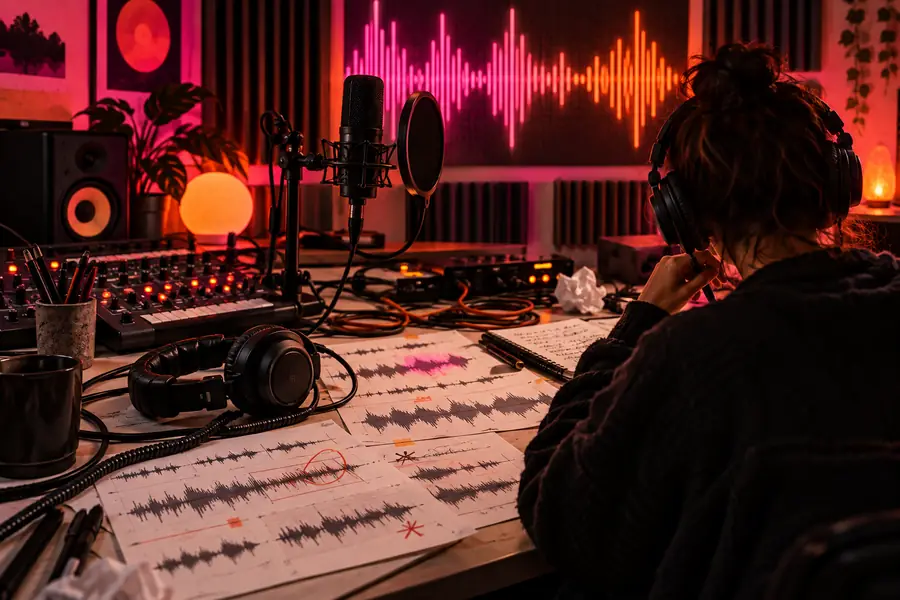
Illustration of an audio editing workspace before review
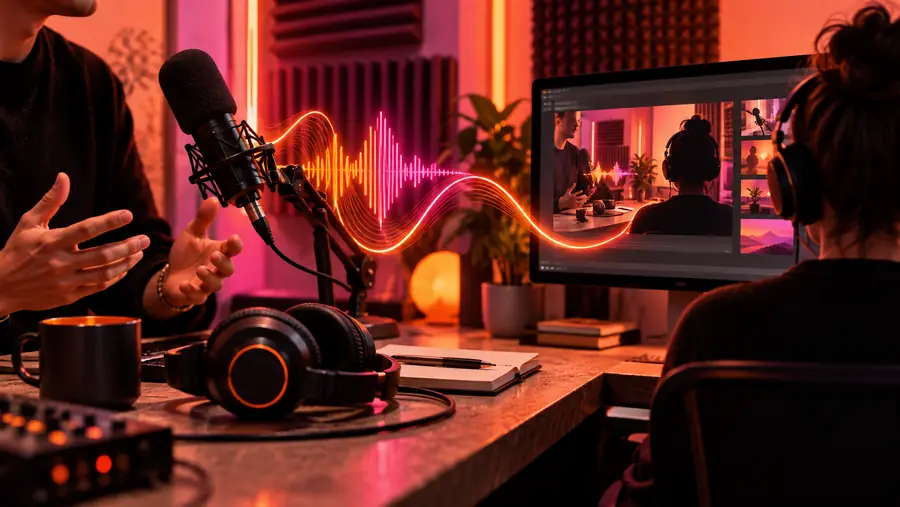
Illustration of an audio editing workspace after review
Reviewed edit

The images illustrate the same workspace, not a measured before-and-after recording. Listen to your own file to judge whether cuts and level changes help.

Limits of an audio-first workflow

It cannot restore missing speech

If a word was never recorded or is completely obscured, trimming and level changes cannot recreate the original performance.

WorkaroundRecord a replacement line or use a different take.

It cannot guarantee clean separation

Music, room noise, and speech captured together may be difficult to isolate without audible artifacts.

WorkaroundUse separate source tracks when available, and compare any processed result with the original.

It is not a full picture edit

Sound adjustments alone will not fix an awkward shot, incorrect framing, or missing visual context.

WorkaroundSwitch to the general video workflow when the footage also needs restructuring.

Previewing is not a final-file check

A mix that sounds acceptable while editing may feel different after export or on a phone speaker.

WorkaroundPlay the exported file all the way through on the device your audience is likely to use.

Audio focus and general editing, side by side

Audio-first edit General video edit
1

Starting question

Audio-first edit

What sounds wrong?

General video edit

What needs to change in the whole video?

2

First review

Audio-first edit

Listen for pauses, unwanted takes, and competing sounds.

General video edit

Watch pacing, framing, text, and sound together.

3

Primary material

Audio-first edit

Voiceover, music, or the sound attached to a clip.

General video edit

Footage, images, text, and audio.

4

Typical first action

Audio-first edit

Trim or reposition a sound segment.

General video edit

Arrange or cut visual clips.

5

Quality check

Audio-first edit

Listen across cuts and compare speech with music.

General video edit

Watch the full sequence with sound enabled.

6

Best fit

Audio-first edit

The picture works, but its sound needs attention.

General video edit

Both the picture and soundtrack need changes.

Give your next clip a sound check

Make the edit, then listen again

Open a clip, fix the most noticeable sound problem first, and review the full result before sharing. A shorter opening or better speech-to-music balance can be more useful than adding another effect.

  • Start with an existing recording
  • Check cuts by listening
  • Review the exported result

Audio editor FAQ

An audio-focused edit can help you trim unwanted moments, position sound against a video, and adjust how prominent speech or music feels. The right steps depend on whether your source is a standalone recording or sound already attached to footage.

You can focus your work on the soundtrack while keeping the visual sequence as it is. Watch the video during review, though, because changing audio timing can affect where a sound lands relative to an action.

Begin by reducing the music where the voiceover plays, then listen to a section with both sounds present. Check the result on ordinary speakers as well as headphones; a balance that works on one device may not work on another.

Not reliably. Noise recorded on the same track as speech can be difficult to remove cleanly, and aggressive processing may affect the voice too. If the source is badly obscured, a fresh recording is often the clearer solution.

Start creating
Start creating